How to Set Up Chaos Engineering in your Continuous Delivery pipeline with Gremlin and Jenkins

.svg)
.svg)

 This is an older tutorial
This tutorial was first published on May 19, 2021.
Many operations teams today leverage Continuous Deployment (CD) pipelines to provide a repeatable automated sequence of steps in building and testing new software. This enables a consistent ability to stand up an environment, perform validations, and optionally tear down the environment to revert to a clean slate in a repeatable way. Teams will often add automated testing tools to perform functional tests, load tests, integration tests, and other types of tests to validate the quality of the product before and after pushing to production.
With Chaos Engineering, we can add reliability testing to our suite of automated tests. Running chaos experiments in our CI/CD pipeline ensures all code changes are reliable before they reach customers. By using "automated chaos" to test for reliability during the deployment process, we can detect operational issues early and avoid outages in production.
In this tutorial, we'll create stages in a Jenkins pipeline to inject a controlled amount of failure into a test system using Gremlin. You'll learn how to deploy a Jenkins instance using Docker, create API keys in Gremlin, and use the Gremlin API to start an experiment.
Prerequisites
Before you begin this tutorial, you’ll need the following:
- A Jenkins instance. For this tutorial, we'll deploy a temporary environment using Docker.
- Gremlin deployed on the host where you want to run your chaos experiment. This can be the same host as Jenkins, but ideally it should be a host that you deploy your application to for testing.
- A Gremlin account (request a free trial).
Step 1 - Get Jenkins Up and Running
In this step, you’ll stand up an instance of Jenkins using the official Docker image. If you already have a Jenkins environment, skip to Step 3 - Create your Chaos Deployment Pipeline.
At the command line, enter the following to initialize a Jenkins instance using Docker.
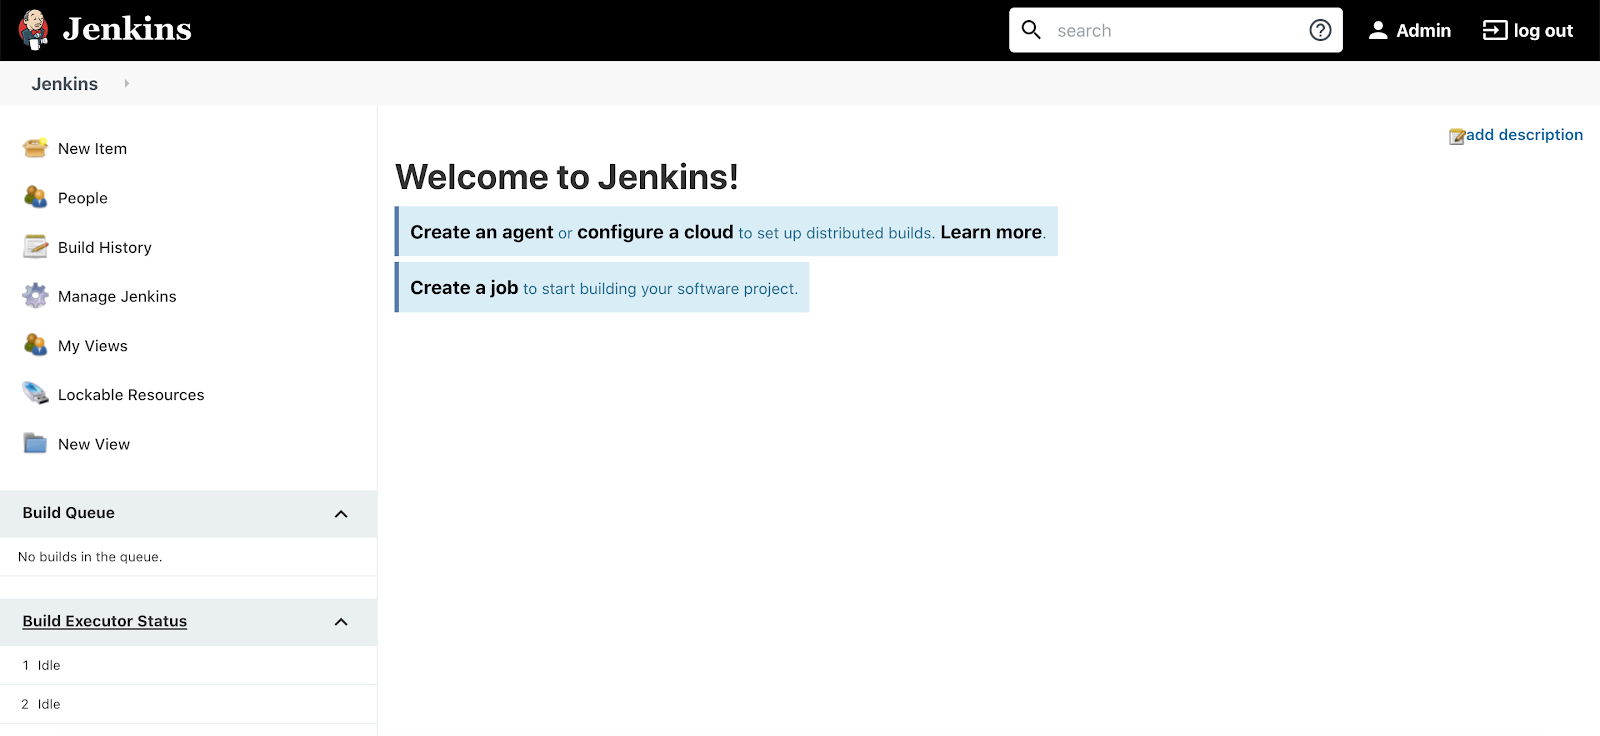
Navigate to <span class="code-class-custom">http://localhost:8080</span> on your browser to confirm Jenkins is working. If this is your first time setting up Jenkins, you will need to enter your admin password and your choice of packages. For this tutorial, the defaults will work fine. Then, add an admin user and log into the account.
Step 2 - Retrieve and Add a Gremlin API Key to Jenkins
In this step, you’ll enter your Gremlin API key and team ID into the Jenkins instance. Your Gremlin API key is tied to your Gremlin user account, and allows Jenkins to authenticate with Gremlin without requiring your username or password. Your team ID is associated with your Gremlin team and allows Jenkins to run experiments, target hosts, and perform other actions within your Gremlin team.
To get your team ID, log into the Gremlin web app. Click on the user icon in the top-right, then click Team Settings. Click the Configuration tab to see your Team ID:
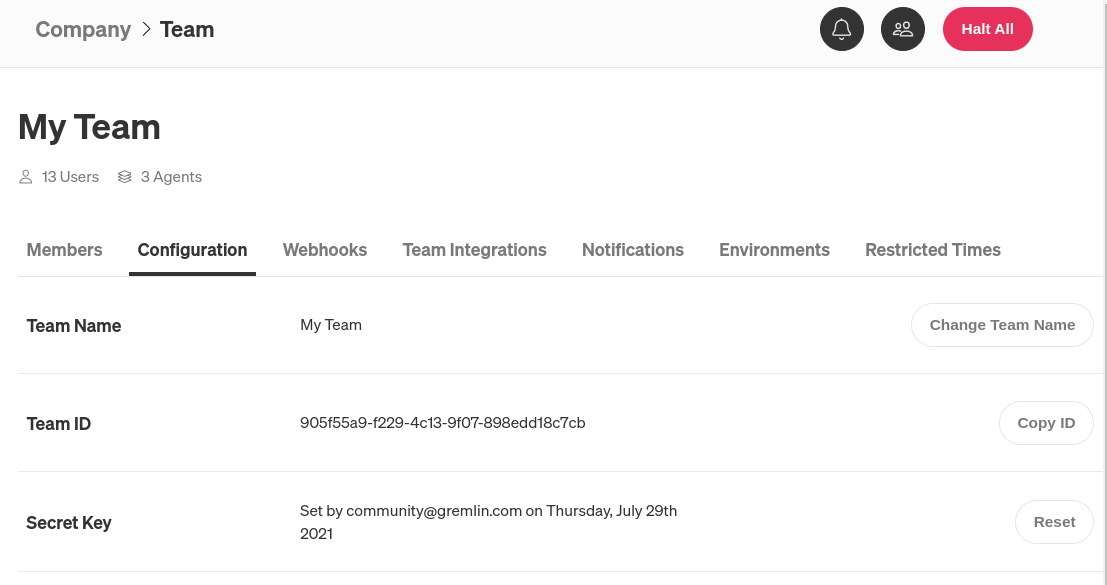
Copy your team ID or keep this window open, as you'll need it in the next step.
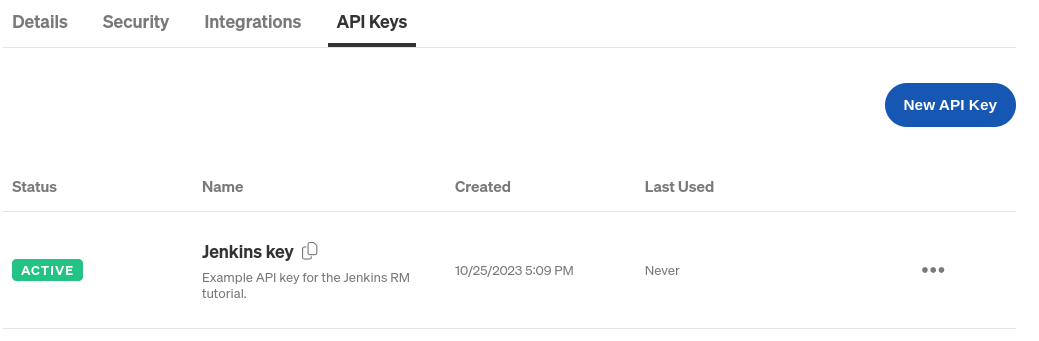
Next, we'll create an API key. Click on the user icon in the top-right, then click Account Settings. Click on the API Keys tab, then click New API Key. Enter a name for the key (e.g. "Jenkins") and optionally a description, then click Save. Copy the key from the modal window that appears (you can still access the key after closing the modal window).
Now that we have our team ID and API key, let's enter them into Jenkins. We'll add these to Jenkins as credentials. Open the following in your browser:
http://localhost:8080/credentials/store/system/domain/_/newCredentials
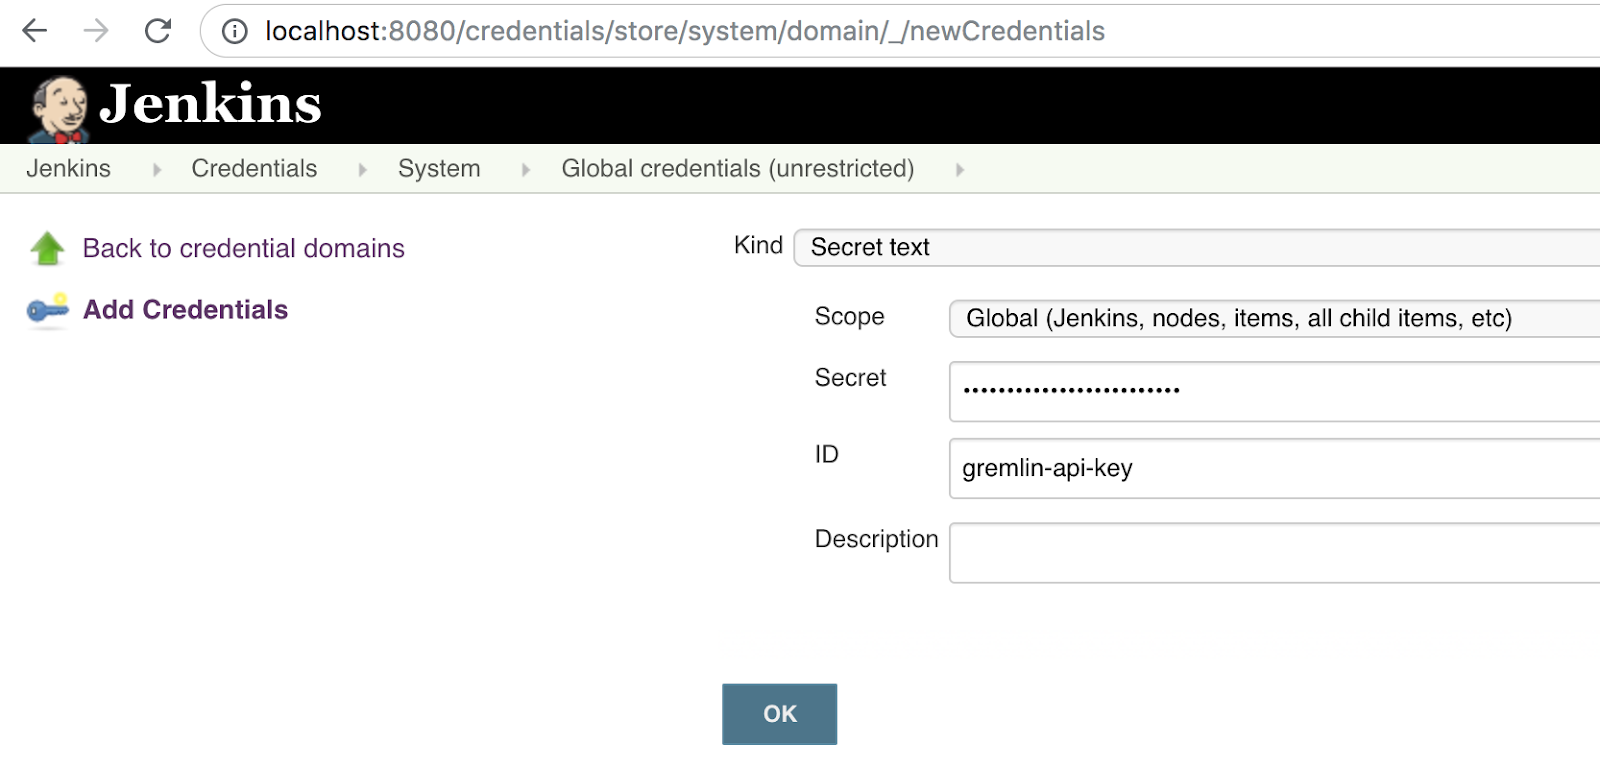
Or open the Jenkins dashboard and navigate to Manage Jenkins > Manage Credentials > (global). Click Add Credentials. Set the Kind to <span class="code-class-custom">Secret text</span> and the Scope to <span class="code-class-custom">Global</span> as shown below. Paste your Gremlin API key in the Secret field, and enter <span class="code-class-custom">gremlin-api-key</span> as the ID. Click OK to save.
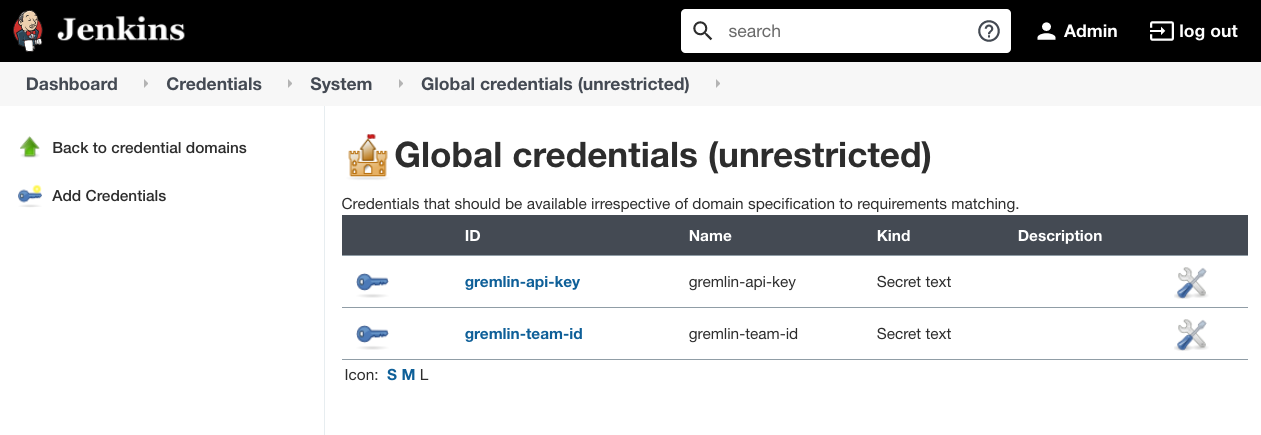
Repeat this step for your team ID. Select <span class="code-class-custom">Secret text</span>, paste your ID into the <span class="code-class-custom">Secret</span> field, then enter <span class="code-class-custom">gremlin-team-id</span> into the ID field. Click OK to save. Your global credentials list should look like this:
Step 3 - Create your Chaos Deployment Pipeline
In this step, we'll create a Jenkins pipeline. This pipeline will run a CPU experiment, which consumes CPU capacity on our target host for a set amount of time. The target of the experiment is the host where we installed Gremlin before starting the tutorial.
In a typical CI/CD pipeline, our pipeline code might contain steps for provisioning a test environment, deploying an application, deploying the Gremlin agent to that environment, then running the experiment. For this tutorial, we'll skip the first three steps and just show how to run the experiment using the Gremlin API.
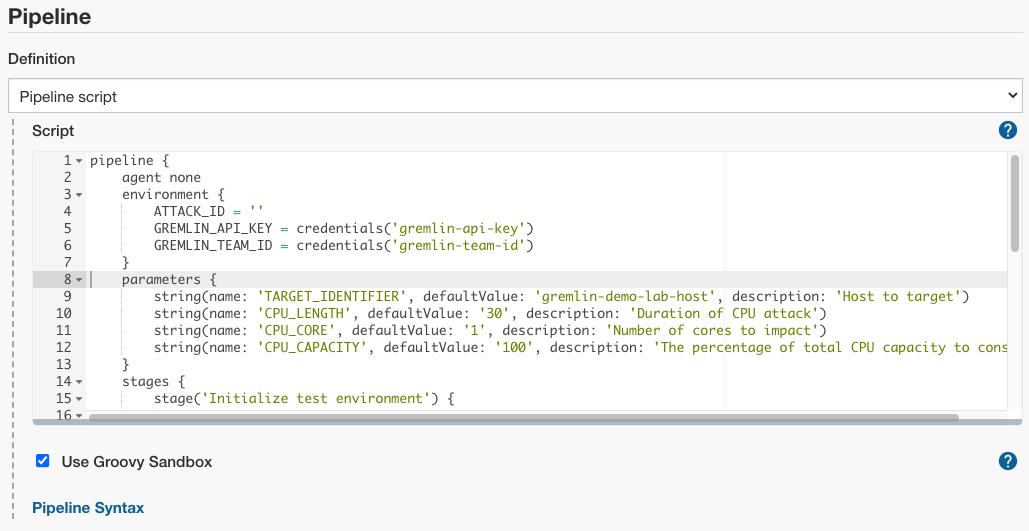
On the Jenkins home screen, click New Item. Enter a name such as "Chaos Pipeline", select Pipeline, then click OK. Scroll down to the Pipeline section, then enter the following code:
Let's take a closer look at this script.
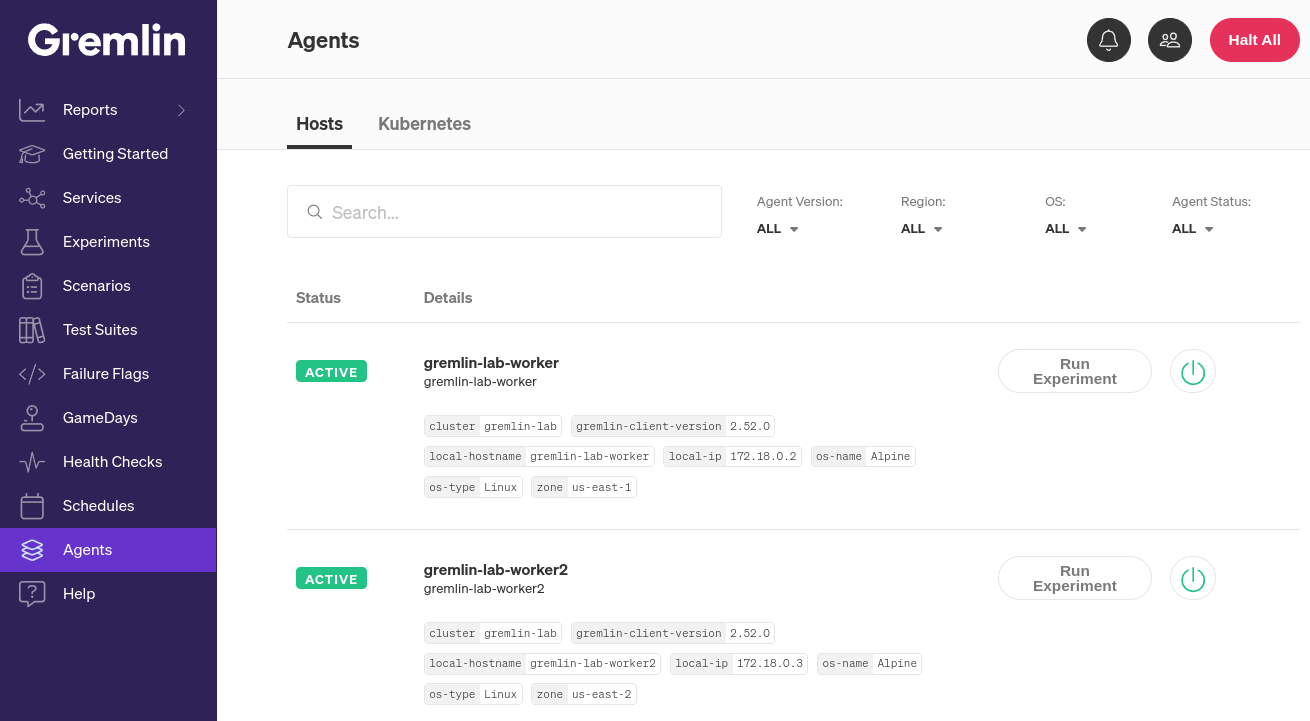
First, in the <span class="code-class-custom">environment</span> section, we retrieve our credentials (our Gremlin API key and team ID). Under <span class="code-class-custom">parameters</span>, we define the parameters of the experiment. <span class="code-class-custom">TARGET_IDENTIFIER</span> is the name of the host we want to target as it appears in Gremlin (for example, here we use <span class="code-class-custom">gremlin-demo-lab-host</span>). You can find your list of hosts in the Gremlin web app by clicking on Clients > Hosts:
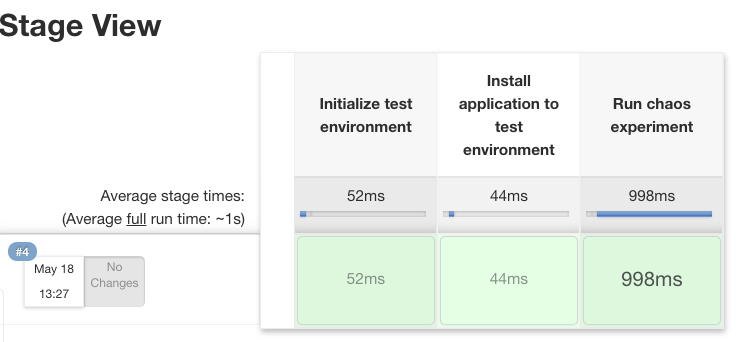
Next is the <span class="code-class-custom">stages</span> section. The first two stages are where we would add steps to provision and set up our test environment. The third stage, "Run chaos experiment," is where we call the Gremlin API to start the experiment. Note the <span class="code-class-custom">script</span> field, which contains the complete call to the Gremlin API. You can replace this field with any Gremlin API call of your choice, whether it's calling a different type of experiment, running a Scenario, targeting a Kubernetes resource, or targeting a Service. You can learn more about creating API calls in our getting started tutorial.
For now, replace the default value of <span class="code-class-custom">TARGET_IDENTIFIER</span> with the name of the host you want to run the experiment on. Optionally, change the parameters of the CPU experiment by changing the <span class="code-class-custom">CPU_LENGTH</span>, <span class="code-class-custom">CPU_CORE</span>, and <span class="code-class-custom">CPU_CAPACITY</span> parameters. <span class="code-class-custom">CPU_LENGTH</span> is how long the experiment will run (in seconds), <span class="code-class-custom">CPU_CORE</span> is the number of CPU cores impacted, and <span class="code-class-custom">CPU_CAPACITY</span> is the percentage of total CPU capacity to consume.
Next, run the demo script by selecting “Build with Parameters”, then “Build”. Jenkins will quickly run through the first two stages, then call the Gremlin API and start the experiment. The Stage View will look similar to this:
If we open the console output by clicking on the build number and selecting Console Output, we'll see the following:
Congratulations! You've now integrated chaos experiments into your CI/CD pipeline!
Conclusion
This tutorial is just the first step to effectively using Chaos Engineering in your CI/CD pipeline. Expand your practice further by running a Scenario instead of an experiment, run a check to verify the completion of the experiment, use Status Checks to automatically halt an experiment if your systems become unstable, or run your experiment alongside an integration or load test. If you have automated load or functional tests, run them alongside your chaos experiment to make sure your systems can operate reliably under stress. You can apply these same principles to other automated build and deployment tools such as Spinnaker, GitLab, or CircleCI.
For more on Gremlin and CI/CD, check out our webinar: Automating Chaos Engineering in your CI/CD Environments.
Avoid downtime. Use Gremlin to turn failure into resilience.
Gremlin empowers you to proactively root out failure before it causes downtime. See how you can harness chaos to build resilient systems by requesting a demo of Gremlin.

.svg)