Chaos Engineering with Minecraft

.svg)
.svg)

Introduction
For over a decade, Minecraft has brought over 100 million players together to explore, build, and fight monsters. But as fun as it is to explore an infinite world with your friends, there’s nothing fun about losing your progress because the server crashed or you were disconnected. If you’re hosting your own server, an outage is one of the fastest ways to lose your player base. To avoid this, we need to make sure our systems are reliable as possible so that our players have the best possible experience.
In this tutorial, we’ll use Gremlin to simulate real-world outages on a multiplayer Minecraft server. We’ll run two different network attacks and observe the impact that they have on the player experience. Whether you’re hosting hundreds of worlds for customers or running a small private server for you and your friends, this tutorial will show you how to create a better gaming experience.
Overview
This tutorial will walk you through:
- Downloading and running the Minecraft server
- Installing Gremlin
- Running network attacks to simulate poor performance and outages
Prerequisites
To complete this tutorial, you’ll need:
- A host system with the Java Runtime Environment (JRE) installed for running the Minecraft server
- A Gremlin account (sign up here)
- A Minecraft account and Minecraft: Java Edition game client (download here)
For this tutorial, we used Virtualbox to run the Minecraft server in an Ubuntu virtual machine (VM). We ran the game client on the host system—a 2019 Macbook Pro—and connected to the VM using NAT and port forwarding. These instructions will also work when running the Minecraft server and game client on two separate computers.
Step 1 - Retrieve your team ID and credentials and install the Gremlin daemon
First, we need to install the Gremlin daemon onto our server host. We need our Gremlin Team ID and secret. If you already have the daemon installed, you can skip to step 2. Otherwise, log into the Gremlin web app and continue following these instructions.
Open the drop-down menu on the top right of the page, then select “Team Settings”. On the Teams screen, click on “Configuration”:

Make a note of your Team ID.
If you don’t know your Secret Key, you will need to reset it by clicking the Reset button. You’ll get a popup reminding you that any running clients using the current Secret Key will need to be configured with the new key. Hit Continue.
Next you’ll see a popup screen that will show you the new Secret Key. Make a note of it.
Install the Gremlin daemon by following the instructions in the installation documentation. Once it’s installed, log into the Gremlin web app and open the Clients page to verify that your system is reporting to the Gremlin Control Plane. Note that the client name will vary depending on whether you set the identifier variable during the installation process.
Step 2 - Install the Minecraft server
Next, go to minecraft.net and download the Minecraft: Java Edition server. This will download a JAR file to your computer. To run it, open a terminal and type the following command:
Note: If this is your first time running the server, you’ll have to accept the end-user license agreement (EULA) by opening the newly-generated <span class="code-class-custom">eula.txt</span> file and changing the line <span class="code-class-custom">eula=false</span> to <span class="code-class-custom">eula=true</span>. Save the file, then restart the server.
Step 3 - Run the Minecraft client and connect to your server
Download and install Minecraft: Java Edition. This process will vary depending on your operating system. Since we’re using macOS, we’ll download Minecraft.dmg, open it, and drag Minecraft to our Applications folder. We’ll then run the game like any other application.
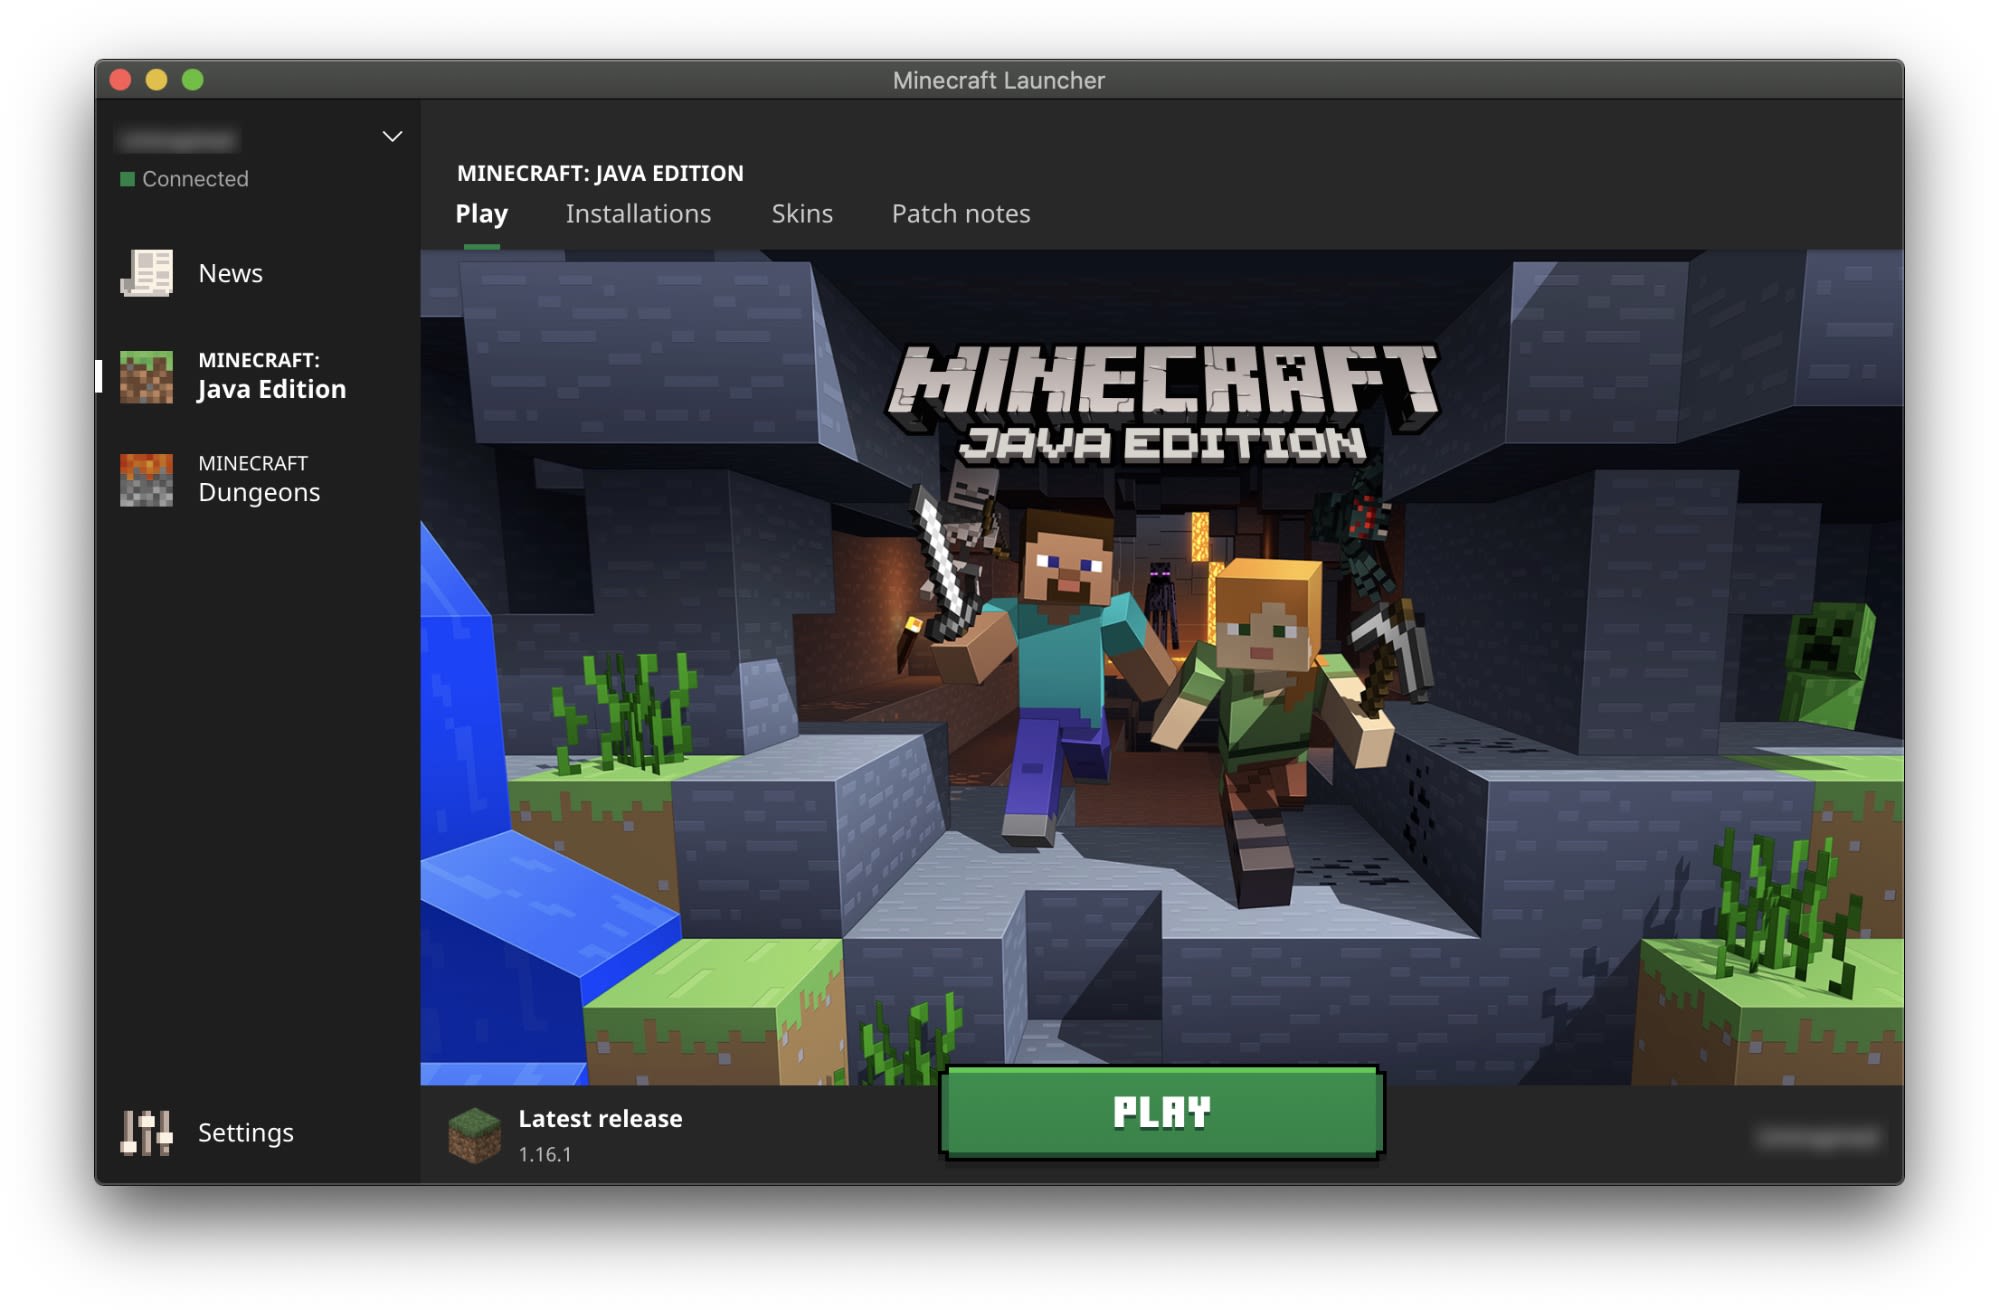
Click “Play” to start the game. When the main menu appears, click “Multiplayer”:
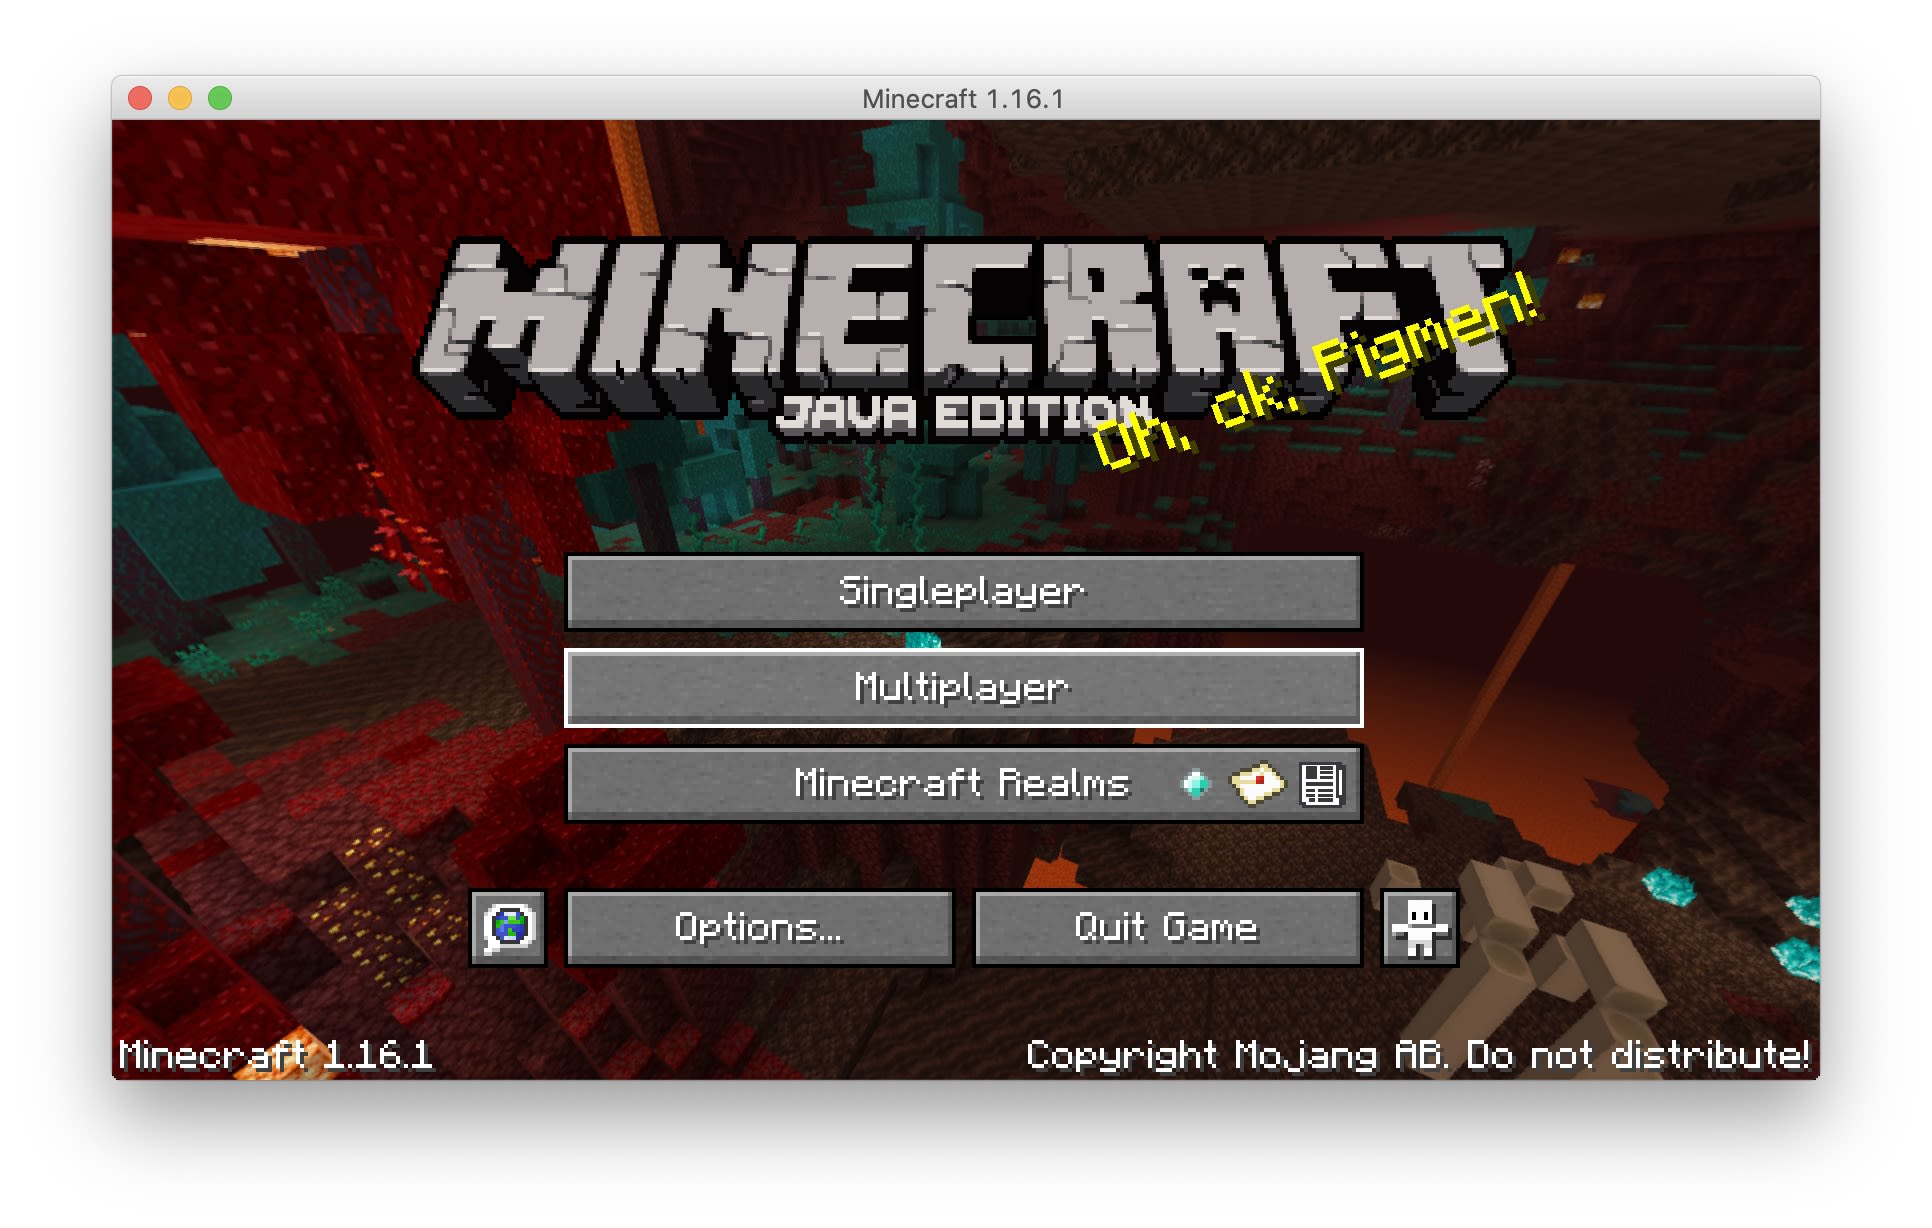
If your Minecraft server host is on the same local network as your Minecraft client, it will automatically appear on the list. If not, click “Direct Connect” and enter the IP address of the server. If your server host has a firewall, make sure to open port 25565. Since we’re using NAT and port forwarding from a virtual machine, we’ll enter <span class="code-class-custom">127.0.0.1:25565</span> as the target server.
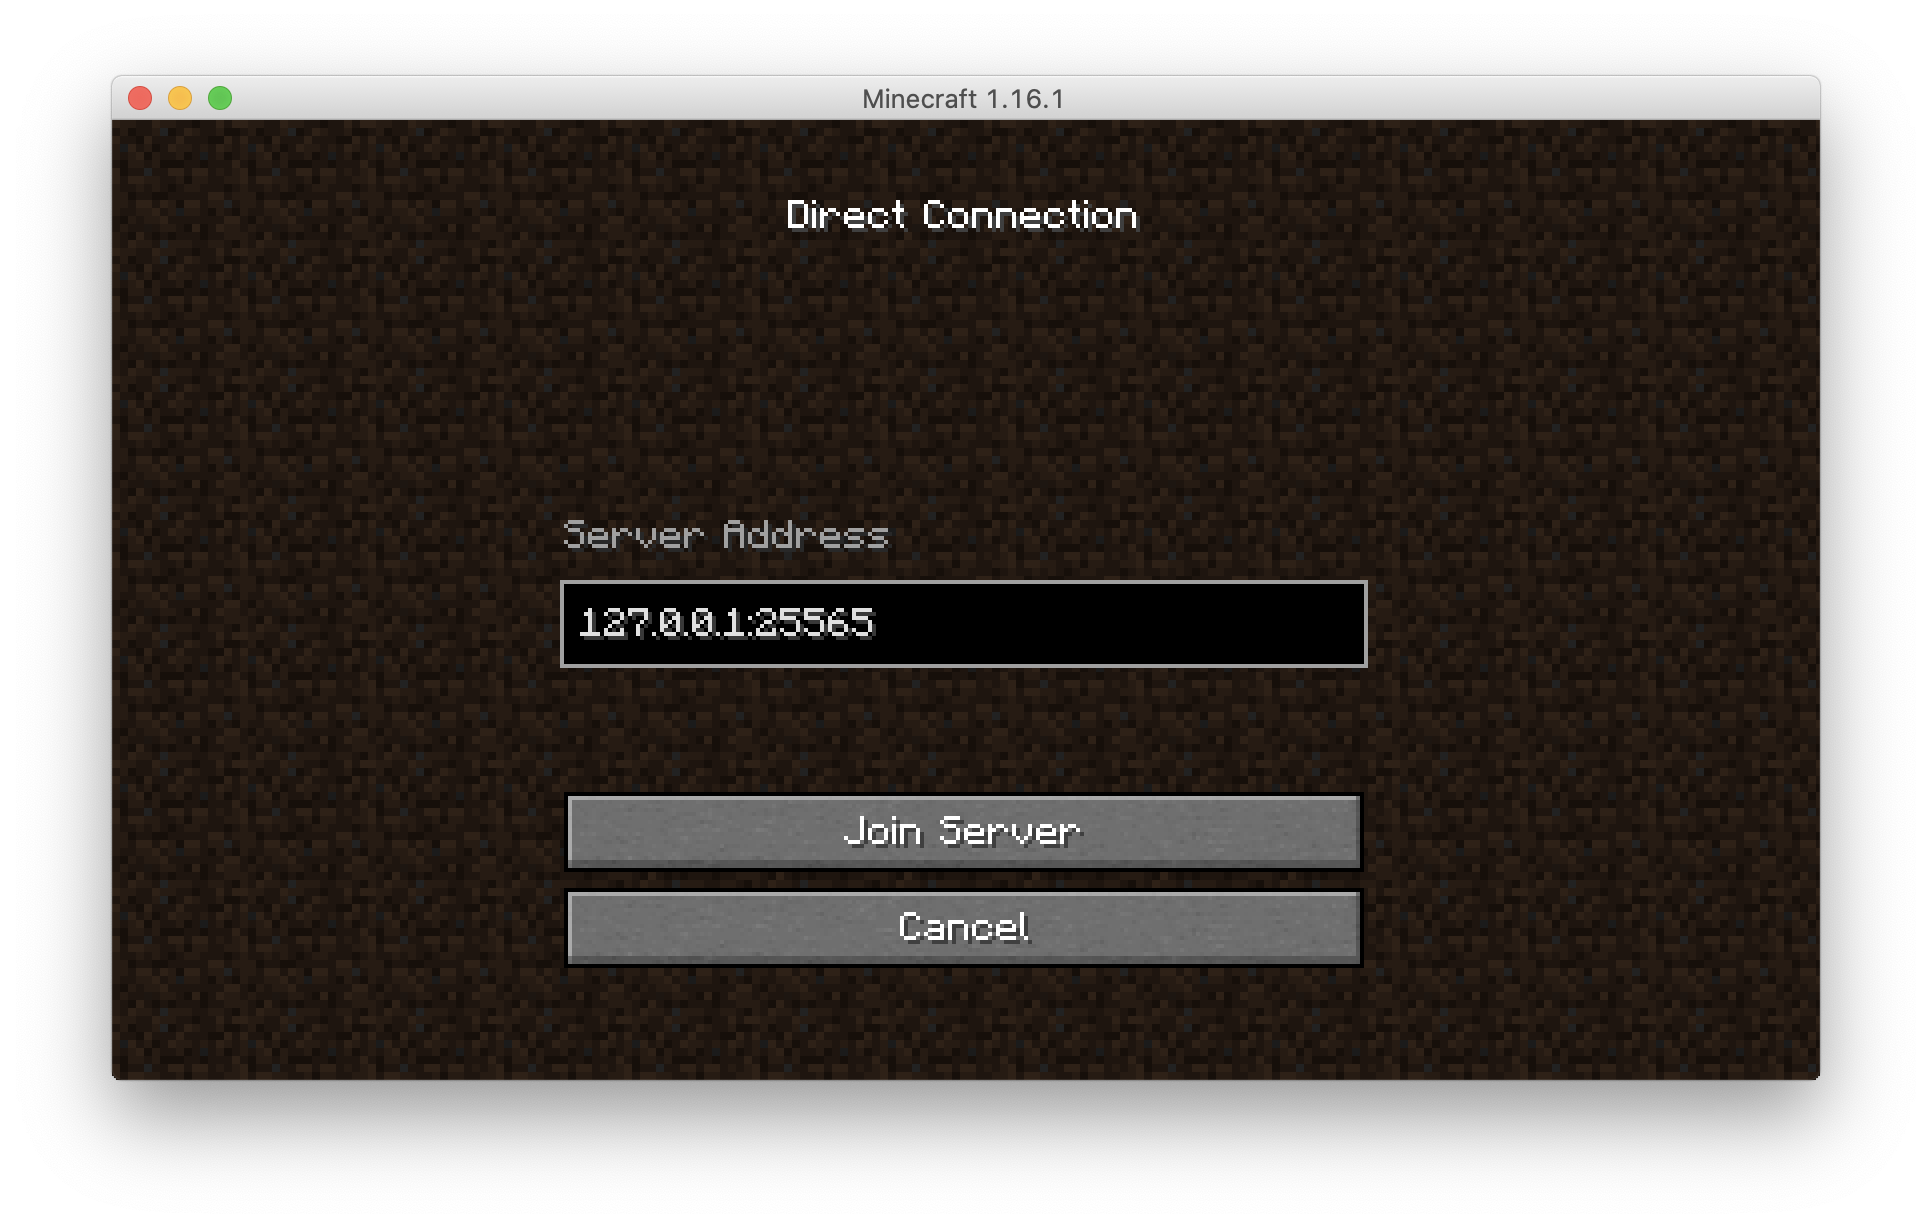
Once the game connects, you’ll appear in-world and can start running chaos experiments.
Step 4 - Run a latency attack
For our first attack, we want to see how much latency we can tolerate before our players start to notice problems. Latency is the amount of time it takes to transmit data from a player to the server and back again. This is also known as connection lag, or ping. High latency can cause a ton of issues, from not being able to place items, to disconnections, to players “rubber banding” across the game world as they move.
We can use Gremlin to measure the impact of latency on gameplay. To do this, we’ll use latency attack to inject latency into all network traffic from our server.
- Log into the Gremlin web app and click “Create Attack.”
- Under “Hosts,” select your Minecraft server host.
- Under “Choose a Gremlin”, select the “Network” category and the “Latency” attack.
- Change the MS field to <span class="code-class-custom">200</span>. This adds 200 milliseconds to each network call.
- Add <span class="code-class-custom">,25565</span> to the Egress Ports field to impact port 25565.
- Click “Unleash Gremlin” to run the attack.
Now, go to your Minecraft client and interact with the world. Notice any strange delays? Do blocks take a long time to break or place? Is your movement jerky or jittery? These are all signs of high latency, and any players experiencing more than 200 ms of latency will likely have these same issues.
Here is the attack details screen showing the successful completion of the attack:
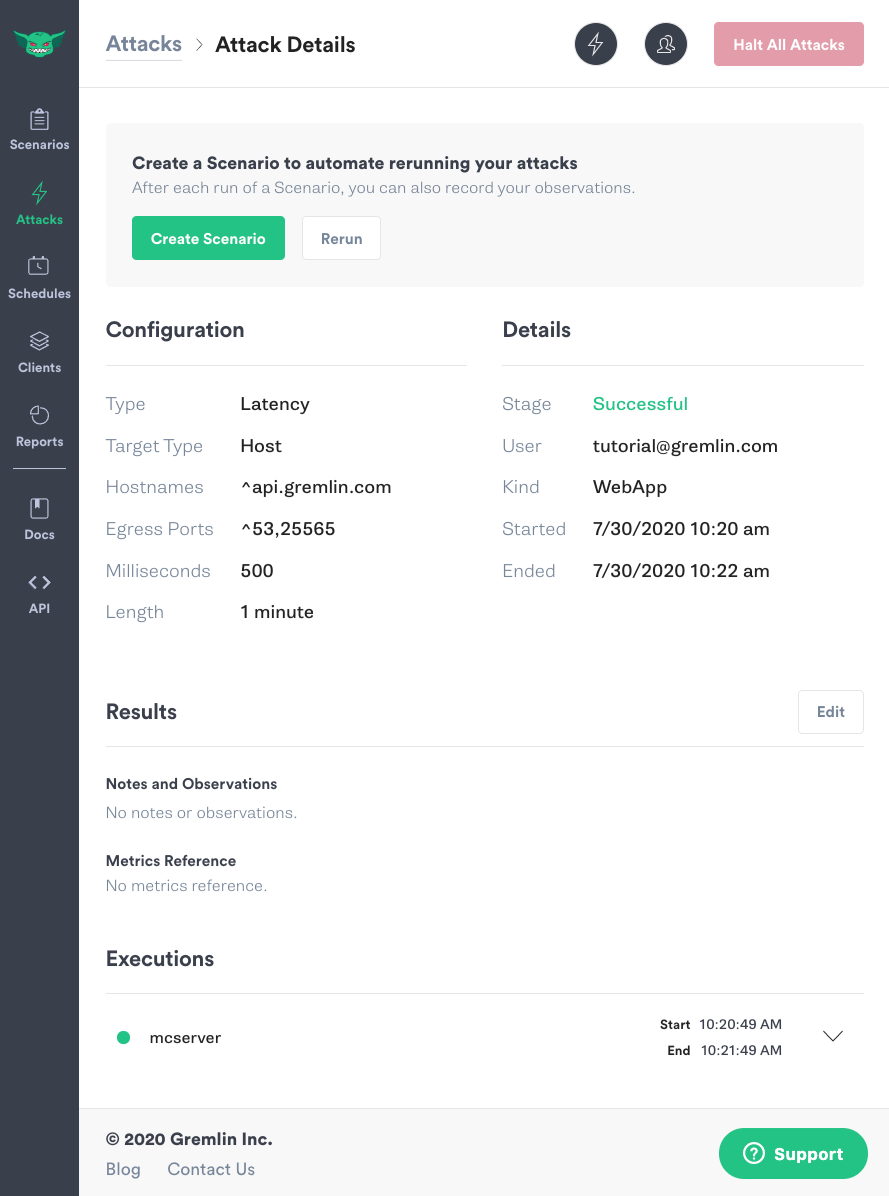
To mitigate this, look into ways of optimizing your host’s network performance:
- Make sure you’re connected to a wired network and not WiFi.
- Stop any other bandwidth-intensive processes running on your network.
- See if you’re constrained by your ISP by using sites like Speedtest to check your connection performance.
Some causes will be out of your control, like poor network conditions or a player connecting from overseas. Nonetheless, finding ways to improve latency will make everyone’s experience better.
Step 5 - Run a packet loss attack
Latency attacks help optimize performance, but that’s not the only thing that can go wrong. Network traffic can get corrupted or lost while in transit, and we want to make sure this doesn’t cause significant problems for our players. To test this, we’ll run a packet loss attack to corrupt some of our server traffic.
- Start by creating a new network attack as in the previous example.
- Instead of selecting Latency, select “Packet Loss.”
- Add <span class="code-class-custom">,25565</span> to the Egress Ports field.
- Change the “Percent” field to <span class="code-class-custom">10</span>. This means that 10% of all network traffic will be impacted.
- Click “Show Advanced Options” and check <span class="code-class-custom">Corrupt</span>. This corrupts the outgoing packets instead of dropping them.
- Click “Unleash Gremlin” to run the attack.
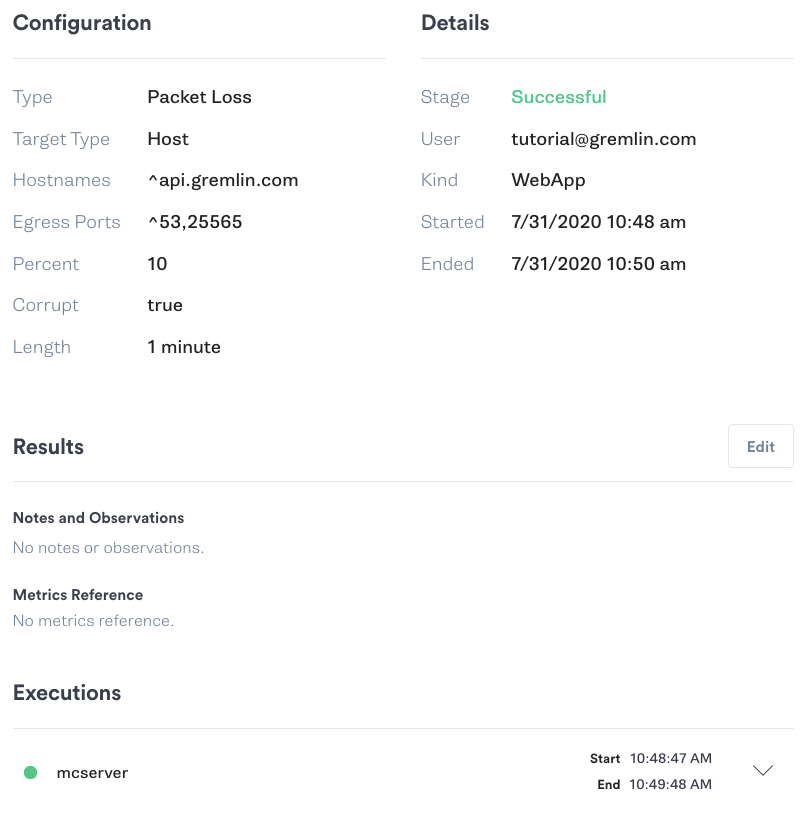
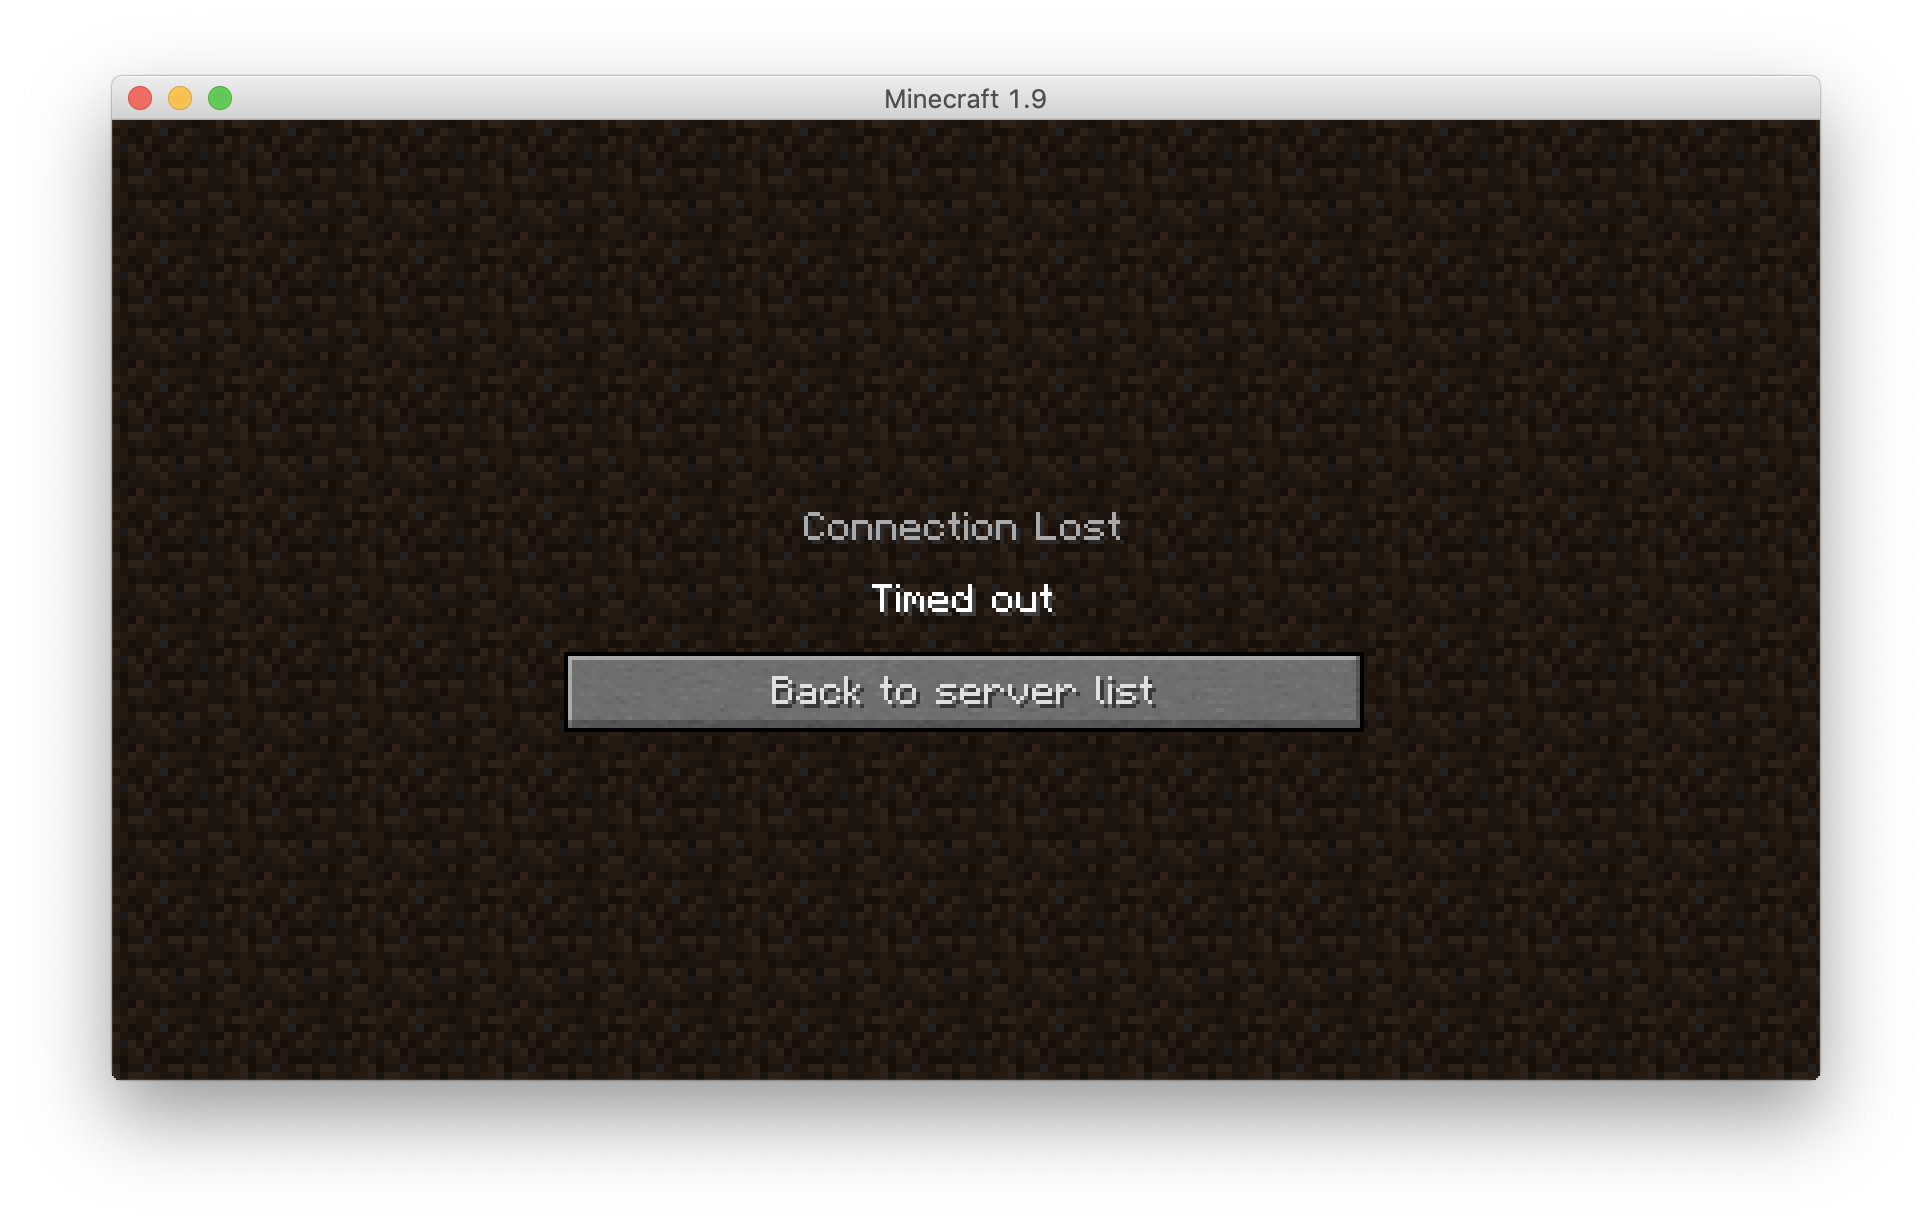
With the attack running, go back to your Minecraft client and start playing. Do you notice any lag or other issues? Were you disconnected? Check the log on your Minecraft server host: are there any unusual messages? If not, that’s great! That means your server and players are capable of withstanding poor network conditions. Otherwise, any disruption in network quality could cause a bad experience including timeouts and disconnections.
If you don’t notice any problems, try increasing the magnitude of the attack by increasing the percentage of corrupted traffic. Learn how much it takes to impact the player experience. The higher the amount, the more resilient you are against adverse network conditions, and the less likely it is that your players will be booted from the game. The same goes for the latency attack: slightly increase the amount of delay added, repeat the experiment, and see what kind of impact this has on your players. Running these experiments now will help make your server more reliable for players in the future.
Conclusion
In this tutorial, you learned how to run chaos experiments on a Minecraft server using Gremlin, and how to make your server more resilient to poor network conditions. You improved the gaming experience for your players, and learned more about your systems in the process. Try running different attacks on your server, see if and how it affects the player experience, and use your observations to make your systems more reliable.
If you have any questions or want to learn more about Chaos Engineering, join the Chaos Engineering Slack community! When you’re ready to run more advanced attacks, contact the Gremlin team.
Avoid downtime. Use Gremlin to turn failure into resilience.
Gremlin empowers you to proactively root out failure before it causes downtime. See how you can harness chaos to build resilient systems by requesting a demo of Gremlin.

.svg)