


Private Network Integration (PNI) Agent
Supported platforms:
Private Network Integrations (PNI) lets you use Gremlin's Health Checks and Webhooks features without exposing internal network endpoints to the public Internet. This lets you integrate Gremlin with your observability solutions, testing tools, and other internal platforms, all while keeping them fully contained within your private network.
Here’s how it works:
- Deploy PNI agent(s) into the same network partition as your observability tool or other integration endpoint.
- You can deploy multiple agents and use tags to specify which agent to use when running Health Checks. Gremlin will check that a Health Check and an agent have matching tags before routing the Health Check to the agent.
- When creating a Health Check, set "Is this observability tool behind a firewall or on-prem' to Yes. When creating a Webhook, check "Private Network Endpoint".
- When the Health Check or Webhook runs, Gremlin proxies it through the Integration Agent instead.
Installing the PNI agent
Gremlin's Integration Agent can be deployed into bare-metal Linux environments, container-based environments running Linux, and into virtual machines.
Choosing team or company scoping
The Integration Agent can be deployed for your entire Gremlin company, or on a per-team basis (the default).
- Per-team scoping means that each team uses its own agent independently of other teams. This is useful if your organization's teams use different environments or tools.
- Company-wide scoping means that every team in your Gremlin company will use the same agent instance. This is useful if all teams in your organization test within the same environment.
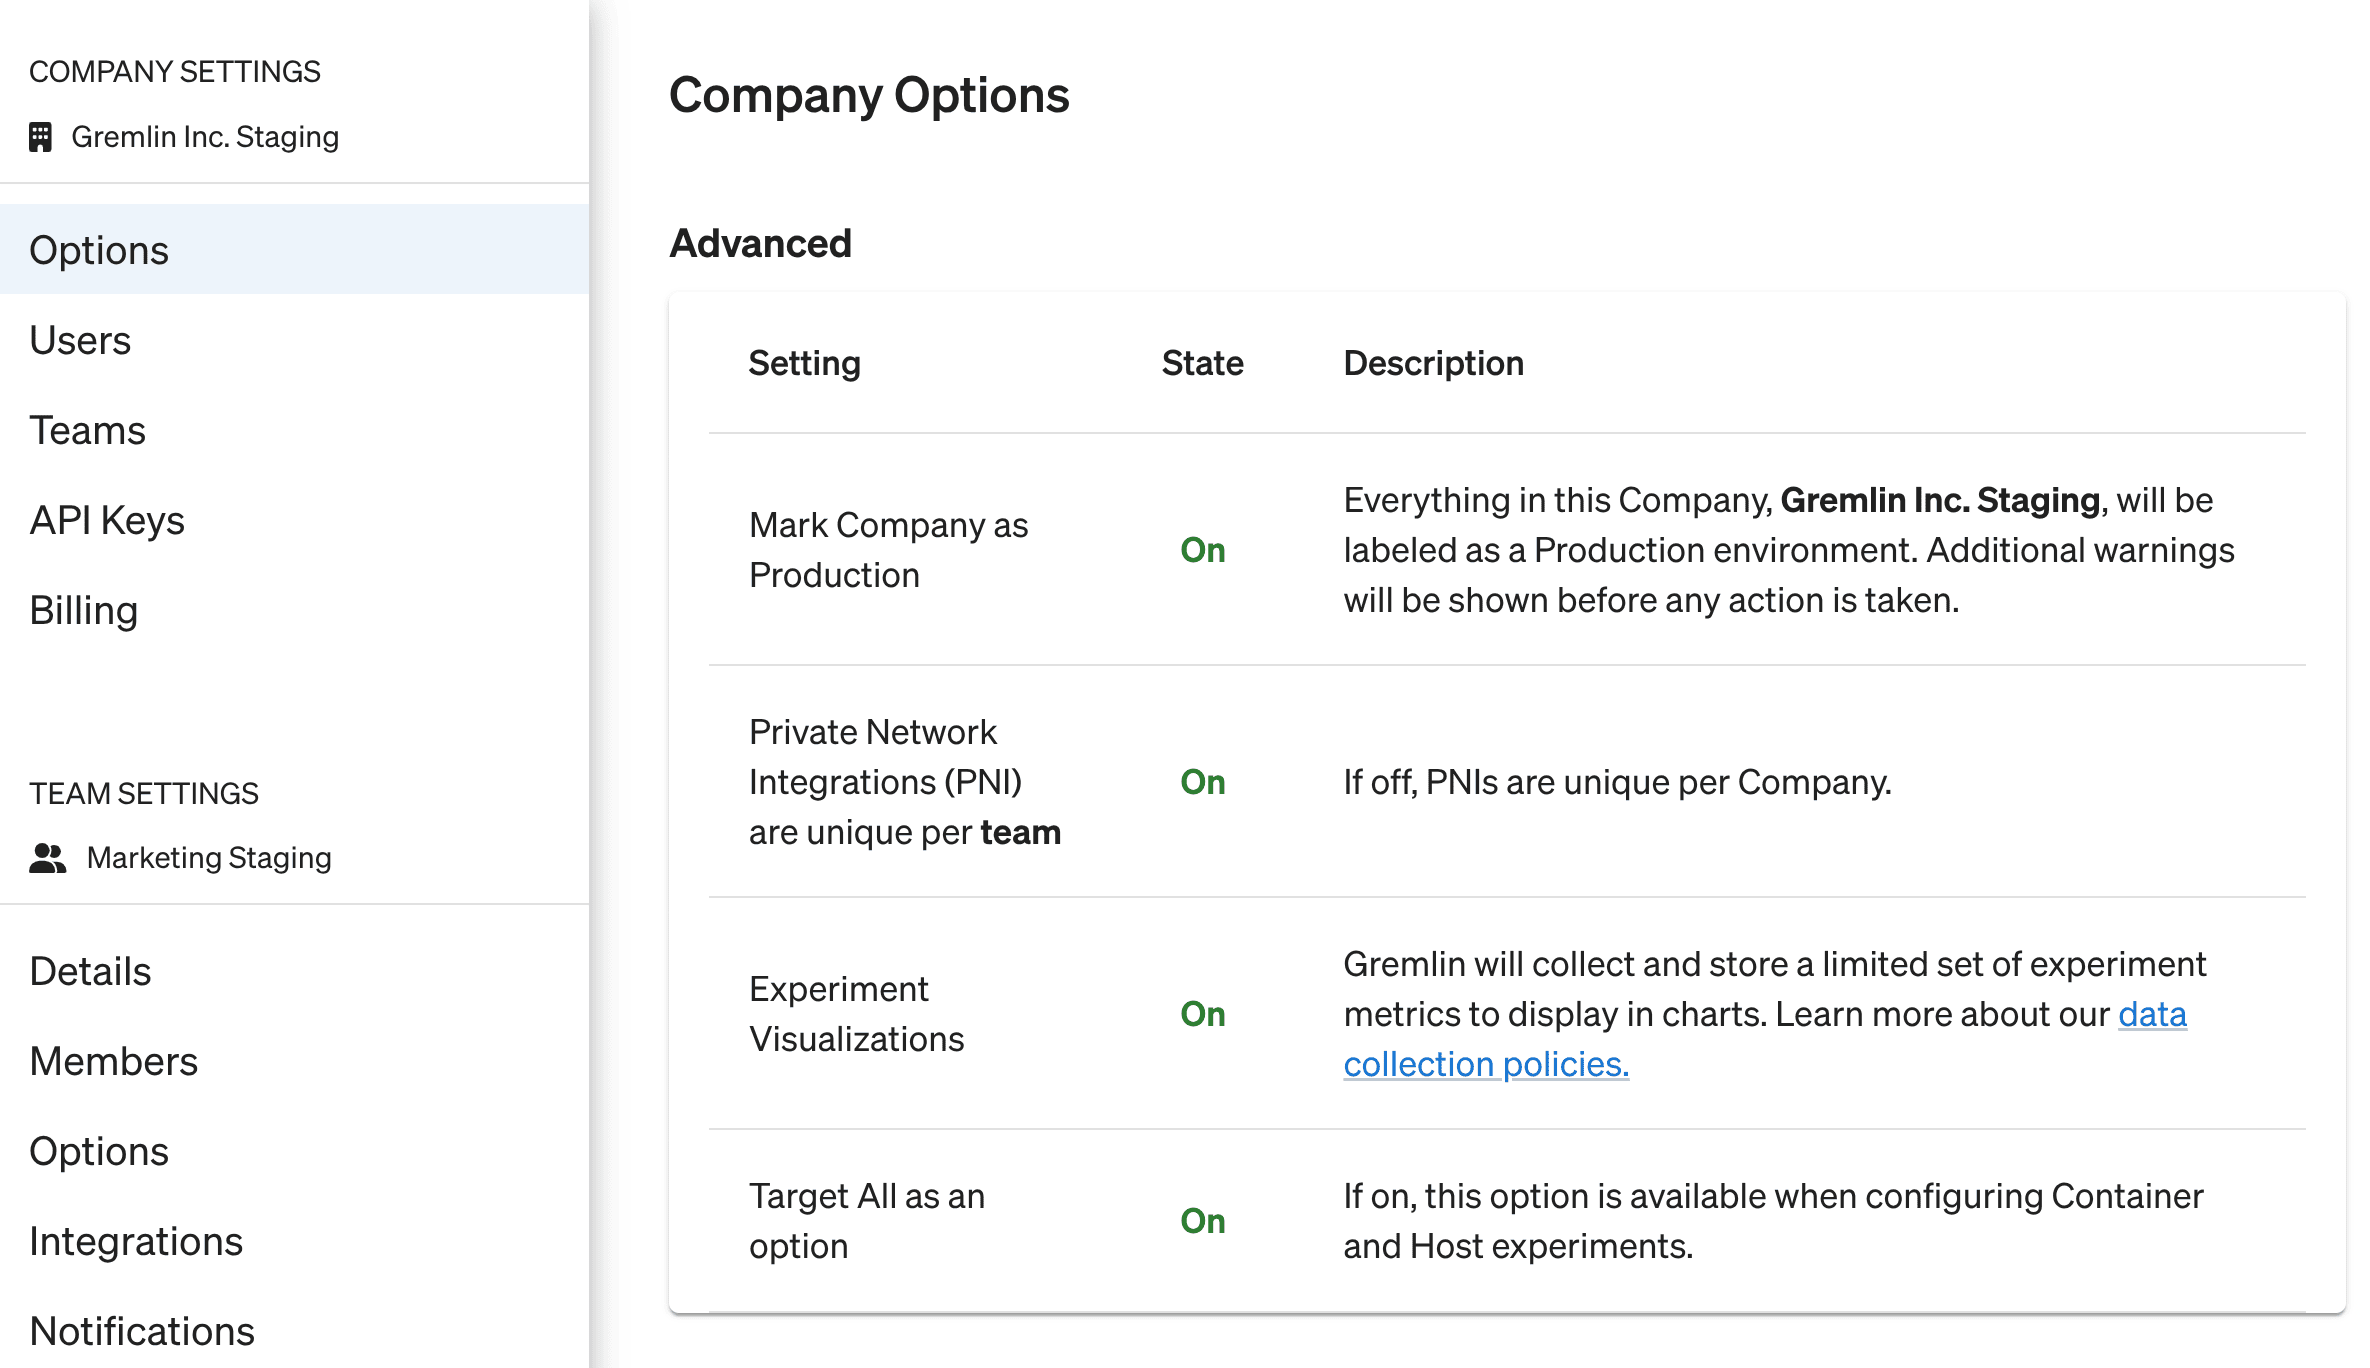
To change your scoping, open the Company Settings page, select the Preferences tab, and enable the Private Network Integrations (PNI) are unique per team checkbox.
Gathering credentials
Just like the standard agent, the Integration Agent requires authentication details to connect to your Gremlin team. For hosts, we recommend using the client configuration file, though you can use any other authentication method. For Kubernetes, we recommend using the auto-generated values.yaml file, which you can download from the Getting Started page in the Gremlin web app.
Adding tags
As of version 0.4.1, the PNI agent supports tags. These are used to differentiate between multiple PNI agents, primarily for determining which Health Checks are proxied to which PNI agents. This is useful for environments with segmented networks, multiple clusters, or different deployment environments (e.g., staging vs. production).
Follow the instructions in Assigning custom tags to add tags to your PNI agent. To confirm that your agent is using the new tags, open the Private Network Integrations page. The tags will be listed next to the agent in the Tags column.
To learn more about using Health Checks with multiple PNI agents, see Routing Health Checks to specific PNI agents.
Installing the PNI agent on Kubernetes
The Kubernetes version of the Integration Agent is available as a Helm chart. Start by adding the Gremlin Helm repository if you haven't yet:
Next, deploy the Helm chart along with your credentials. This example assumes you're using a `values.yaml` file generated by Gremlin. If you're using a different authentication, see manually deploying via Helm for guidance on how to structure the Helm command.
For more info on the Helm chart, including additional options, features, and update instructions, see the chart's Github repo.
Installing the PNI agent on a host
Installing the PNI agent on a host is almost identical to installing the standard agent, only instead of installing the gremlin package, you will install the gremlin-integrations package. The PNI agent's configuration file is installed to /etc/gremlin/integrations-config.yaml. This file follows the same syntax as the standard /etc/gremlin/config.yaml file, so you could use the same file for both configurations. See configuring the Gremlin agent for details on the config.yaml file.
For DEB-based Linux distributions (DEB packages), run the following commands:
For RPM-based Linux distributions:
After you've installed the agent and configured integrations-config.yaml, restart the agent:
Managing PNI agents
To view and manage your PNI agents, click on Configurations in the left-hand navigation menu, then click PNI. This page lists all of the PNI agents currently active in your Company (that you have visibility into). PNI agents use the same statuses and identifiers as the standard Gremlin agent. Similarly, you can deactivate PNI agents you no longer wish to use, and reactivate them if you want to use them again.
Since PNI agents are authenticated by team, this page identifies which team the agent belongs to and lists this in the Owning Team column. The Shared Across column indicates whether the agent is shared on the Team or Company level.
Managing Allowlists
By default, the Integration Agent can send requests to any URL provided by a Gremlin user when setting up a Health Check or Webhook. If you want to restrict which URLs the agent can communicate with, you can use Allowlists. This prevents the agent from accessing any endpoints not included in the list.
You can set up an allow list by adding an <span class="code-class-custom">integration_agent_allow_list</span> array to the agent's configuration file. Each item in the array is a URL pattern. For example, the following allow list will only communicate with port 8080 on <span class="code-class-custom">localhost</span> and port 8080 on <span class="code-class-custom">host.docker.internal</span>:
Items in the list will be evaluated as regex expressions. If you want to allow the agent to communicate with any URL, just remove or comment out the allow list from the configuration file.